Fuel rail, Throttle bodies and Cylinder Head Removal
These pics are taken with the engine out of the frame.
The first part of this (Throttle bodies, rocker cover and camshafts) can be done with the engine in the frame.
Taking the head off must be removed with the engine dropped out of the frame as the front engine mounts are on the head.
Im not going to cover checking and adjusting valve clearances here, if you want that:
For the 2003/04 955i and 1050 engines go HERE for checking and HERE for adjusting
For the the pre 2003 955i engine go HERE for checking and HERE for adjusting

Remove the vacuum hoses. Mine were brittle and cracked so they are going in the bin

Disconnect the injectors

Disconnect the injectors

Disconnect the IACV stepper motor

Disconnect the throttle position sensor

Disconnect the oil temp sensor

There is a small connector here, I think its the neutral sensor switch

Disconnect it

Remove the injector system sub loom

Undo the two bolts securing the fuel rail

Wiggle it free and remove it

You can now clearly see the state of the remains of the vacuum hoses where they harden and crack off

Undo the tiny circlip bolts that hold the throttle bodies down

Wiggle the throttle bodies back and forth to work them free

Remove them

undo the two bolts on each throttle stack

Remove them

If you havent already marked the HT caps do so and remove them

Cylinder 1
That rust doesn't look good...

And it doesn't look good looking down the tunnel either

Use a long plug spanner to remove the plugs

Cyl 1
Fucked...

Cyl 2
Ok...

Cyl 3
Not good but not fucked
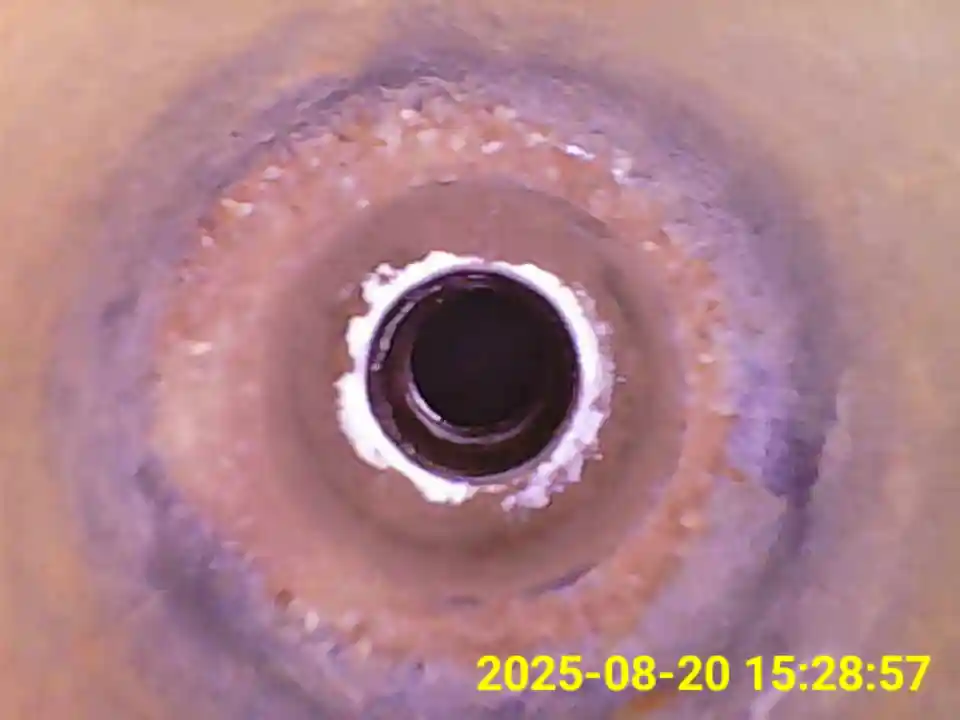
Cyl 1
Rusty...
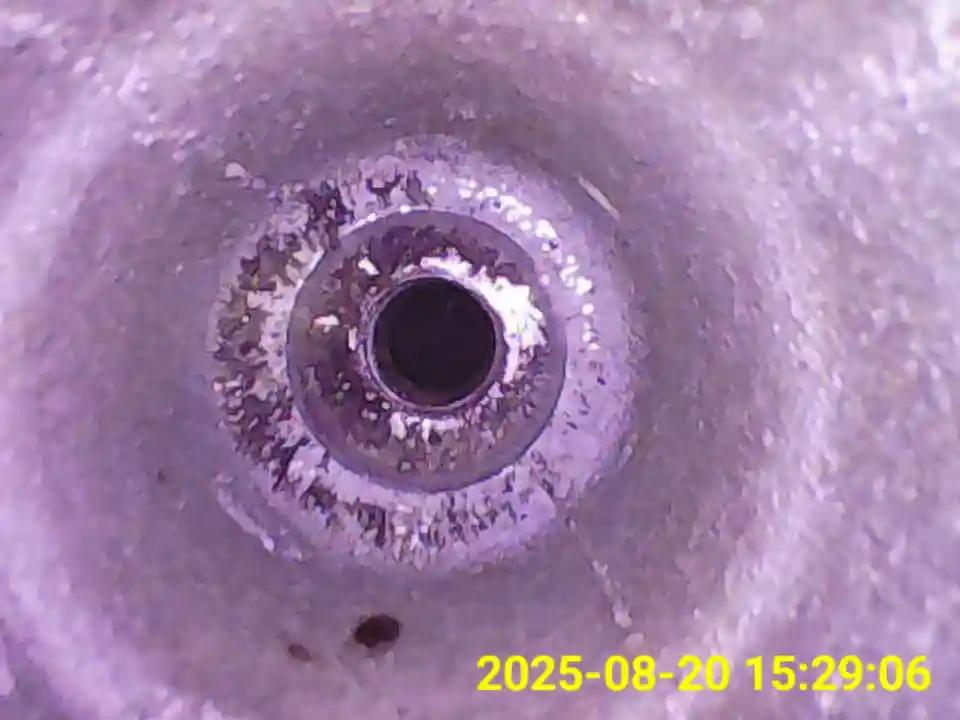
Cyl 2
Dirty but ok...
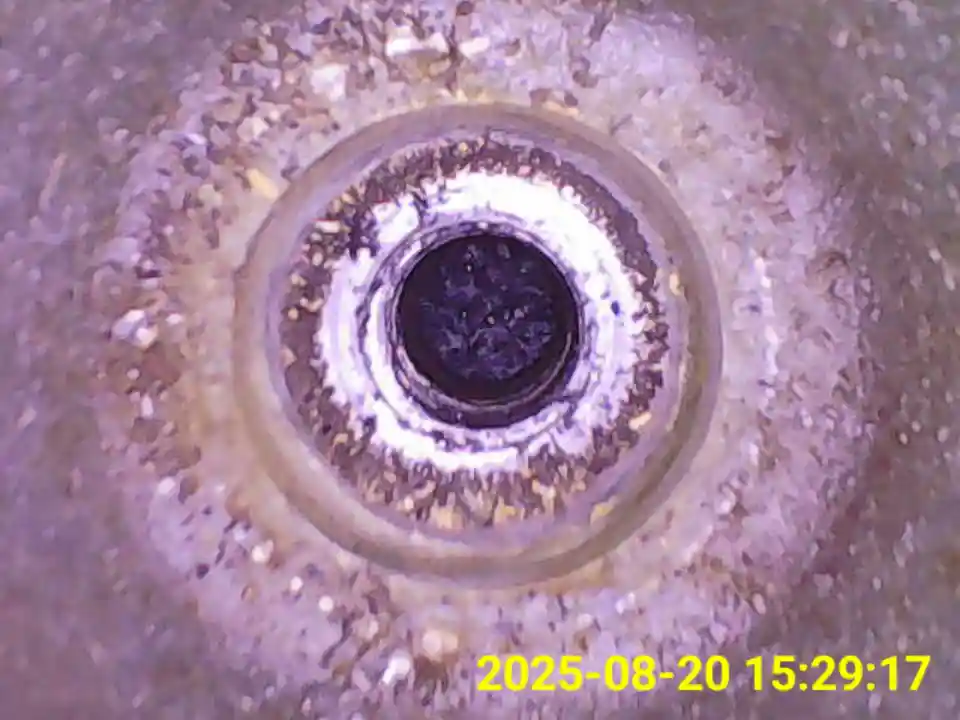
Cyl 3
Dirty but ok...
Cyl 2 and 3 Id be worried about what dropped in the bore if I wasnt taking the head off.

Undo the rocker cover bolts in the order shown

Lift the rocker cover off

Undo the cam chain tensioner

Remove it

Throw away the cam chain ladder seals

Its very important the cam shaft caps go back on the same sides and the same orientation.
Mine have engravings on that make them easy to identify.
If yours don't mark them permanently so you can identify the correct orientation when you refit them

Undo the chain guide
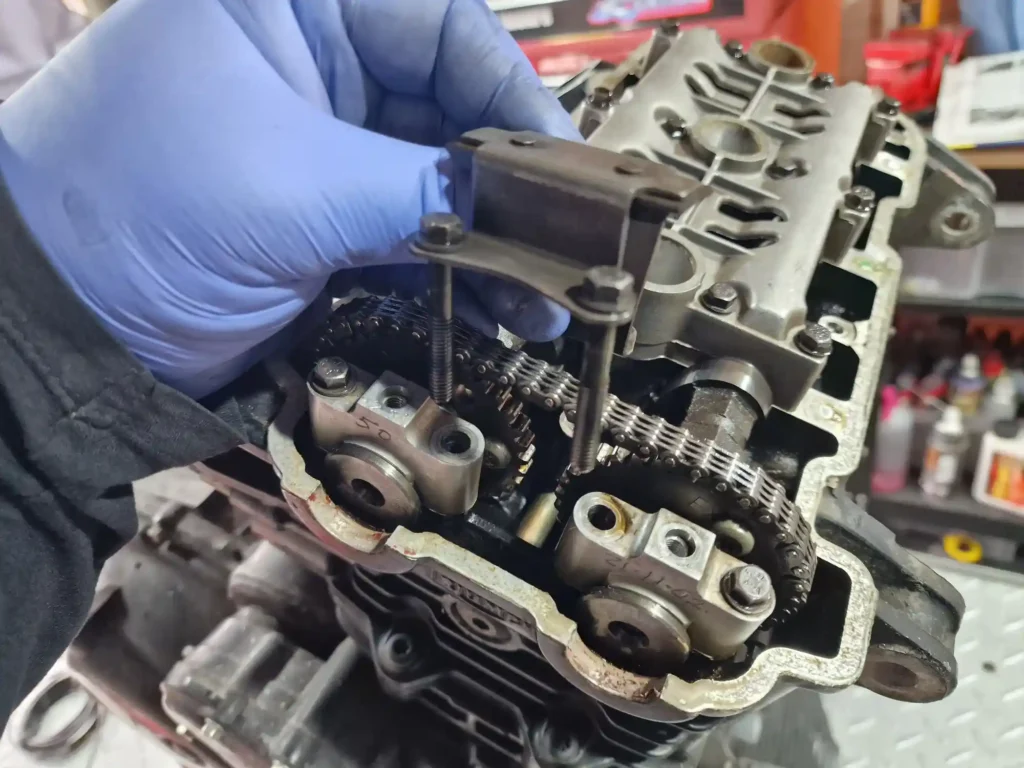
Remove it

sRemove the caps

Loosen the cam shaft ladder bolts in the order shown

Remove it

The inlet camshaft has a groove where I am pointing, the exhaust cam shaft has a smooth section.
Use this to identify them

Remove the cam shafts
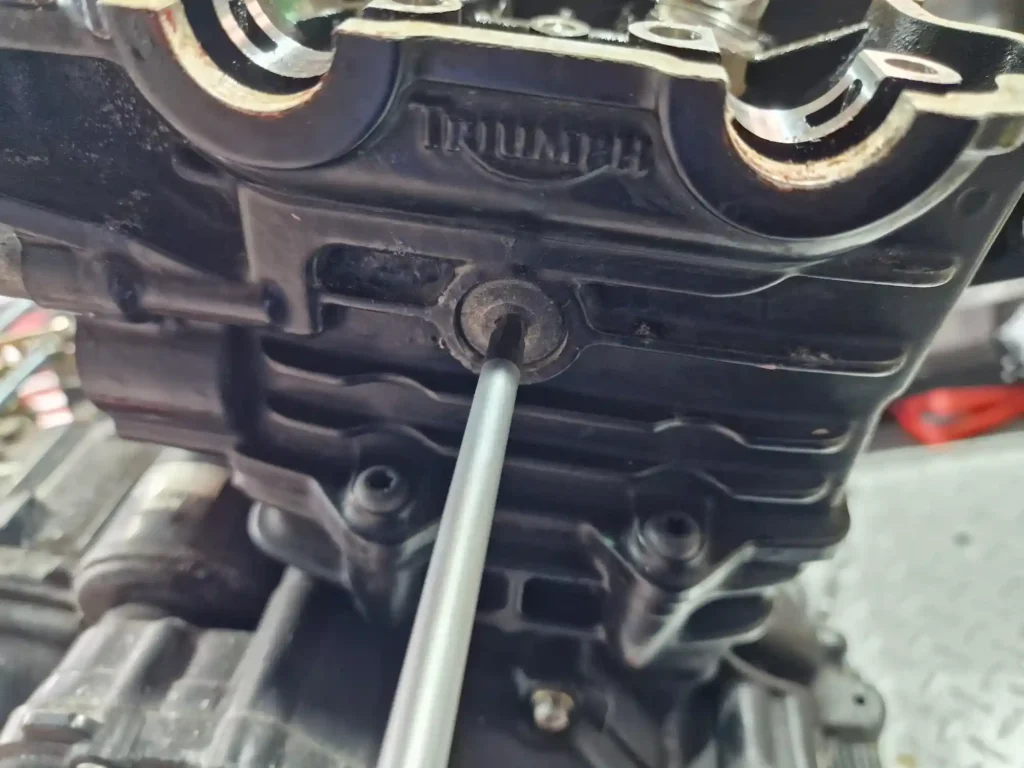
Remove the cam chain supporting bar

Undo the oil pipe banjo

Undo the two head bolts

Undo the head bolts in the order shown
They are TIGHT and in my case slightly rusted.
You may need a long bar over the tool you use to get some leverage

Lift the head off

Be very careful not to lose the two dowels on each corner

Its not as bad in here is I was imagining.

And the valves are not in bad condition.
The head gasket has clearly rusted but as far as i can tell does not show any signs of leakage anywhere.
We can clean the corrosion off.

These are the head bolts in correct order.
You can see which ones rusted.
I did need some extra leverage but they did come out ok.

Throw the gasket away, it will need replacing.

