An Unexpected Success

The more I look at these studs...

The more I was convinced at least a partial failure and some drilling and re-tapping threads would be happening in the near future...

So they have been soaking for a couple of days with penetrating oil.
Then I had a good going over them with a rotary wire brush in a Dremel and spent about 40 minutes removing all the loose corrosion and the surface rust.
After that they look a lot better... but they are still honking...
This is cylinder 3, I figured the right nut was going to be problematic

Cylinder 2, which looked to be the worst ones before they were wire brushed
And the two pics below, cylinder 1, which now looked to be the worst ones.
I was pretty sure the left one on cyl 3 was going to snap...


I tried heating them and then turning them but all I achieved was removing a bit more surface material and rounding the nuts a bit more

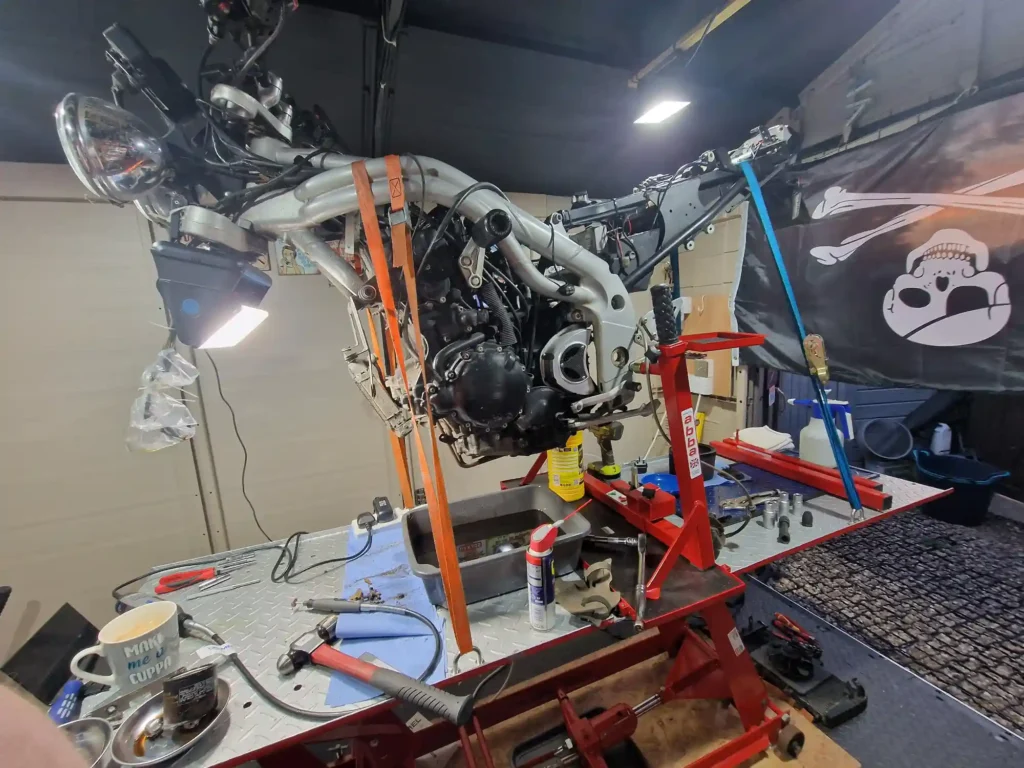
The yolks make a good stable worklight anchor otherwise you will just be working in shadow.
Being able to see what you are doing makes a huge difference

I tried my smallest nut splitter but due to the angled flange on the exhaust I couldnt get it onto the nut effectively

I was contemplating just cutting them off flush but the more stud I have after the manifolds are off, the greater my chance of getting them out cleanly.
So I thought I would try this first.
I put a small precise grinding bit on the dremmel

and I used it to take off one side of the nut down to the thread

And then I hit one side of the ground section with a hammer and chisel, which split it and broke it away from the corroded surface of the stud

Once it was split I managed to tap a socket onto it with a hammer and spin it off

So thats 1 down,
5 to go...

I didnt do them in any particular order, just jumped about picking the next one in turn as whichever one I thought was least likely to snap...
The nut is still on in this pic, you can see how much Ive opened the nut up before it came away
2 down
4 to go

Number 3 was a bastard.
It refused to let go of the threaded stud until it was so distorted it was almost flat
3 down
3 to go
Halfway...

The next one was cylinder 1.
I saw the stud move when I tried to to move the nut previously
So I heated this one again and tried it with an impact hammer and the whole stud span out.
Bonus.
4 down...
2 to go...

This one I was sure was going to fuck up so I was extra careful with the grinding and the chisel and I managed to spin it almost all the way off just by working it around bit by bit with the chisel
1 to go...

This one was probably the worst one, partly because it was the one with the least access around it.
I left it till last and it did not disapoint.
But in the end I got the bastard off

All six nuts off with no snappages.
Didnt think Id see that...
I am a happy bunny

Finally...
The bastards are off without any damage
After I drop the engine and I can work on the studs with the engine rotated to give me perfect access, I think they will come out without any major drama